You’ll need paper that’s at least 36” top to bottom and 10-15 yards long. A big roll of butcher paper will do, but you can also piece together pages of flip chart paper. Attach it to the wall, high enough to be visible, but low enough to write on. Collect markers in various colors, and different colored sticky notes can be useful, as well.
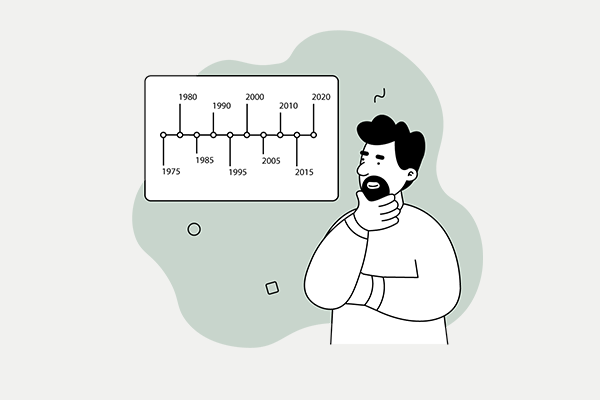
Draw two horizontal lines across the length of the paper, one roughly in the middle and the other splitting the bottom half in two. Along the left side, mark the top half “our history,” and the other two sections “our community” and “the world.” Along the top, mark a starting point on the left–usually the founding of the congregation, but if there were precursor events, you might want to orient the beginning a bit earlier. Then mark off the decades at the top, and be sure to leave space at the end for “the future.”
Recruit one or two people to help record things on the timeline, and designate another person to lead the discussion and encourage participation. You may want to have still another person designated to make additional notes about the dynamics of the group and things that don’t make it onto the timeline itself. Consider whether you want to audio record the event, and if so, make sure your equipment will pick up the conversation.
For more on how to set up the Timeline Event and how to implement good follow up, check out the PDF download below!

